Berry Muffin Pie Iron Recipe | Easy Camping Recipe
Enjoying a camping breakfast is made easy with this recipe for Berry Muffin Pie Iron recipe. The ingredients are simple and it can be cooked over an open fire, so you don’t need to worry about packing up camp just to enjoy a muffin! This recipe only requires three ingredients and less than 10 minutes of cooking time.
This is a recipe that you can make for your next camping trip. It’s so easy to make, and the best part is that it tastes great! All you need are some berry muffin mix, pie irons, and butter.
It’s summertime and the living is easy, or at least as easy as it can be when camping. To make your next camping trip a little easier, we’ve created a berry muffin pie iron recipe for you to try. This dish is quick and easy to prepare so you’ll have plenty of time to set up camp before everyone arrives! Berry Muffin Pie Iron Recipe for Camping takes about 30 minutes in total from start to finish.
The muffin is great for camping because it’s so simple to prepare and even the kids can help cook the pie iron muffins over the fire.
Simple Pie Iron Muffins
Time: 12 minutes
Skill: Easy
Makes: Depends on the mix, mine made 3 pie iron muffins
Equipment Needed:
- 1 (or more) Pie Irons
- Measuring Cup or Bowl To Mix In
- Fork
- Board (or something else to set iron-on as it will be really hot)
Ingredients:
- Muffin Mix
- 1/2 Cup Water (read package directions)
- Non-Stick Spray (I used canola)
- butter (optional)
Directions:
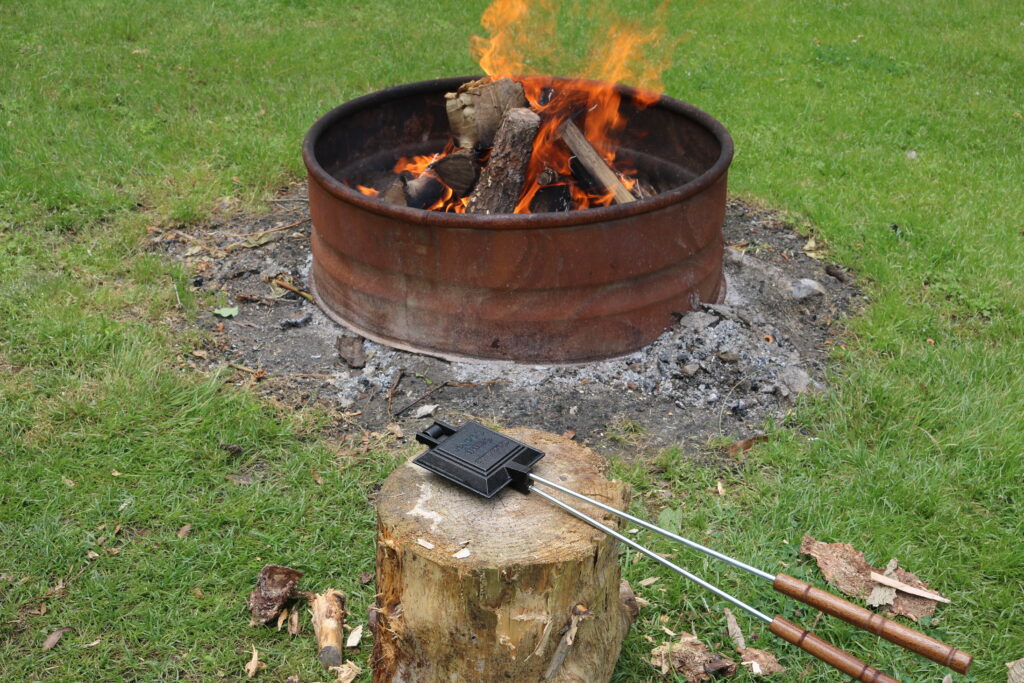
Step 1: Get a good fire going.
Step 2: Mix muffin mix and water in cup or bowl and allow to sit for 2-3 minutes.
Step 3: Heat pie iron over the fire. It only needs to heat for about 30 seconds on each side.
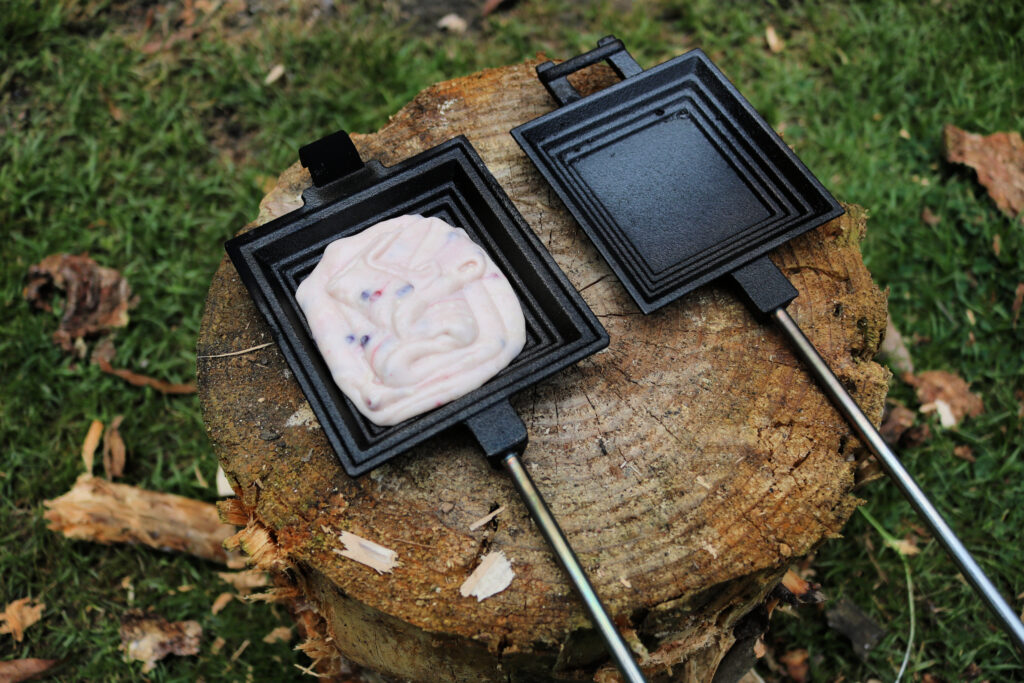
Step 4: Set iron on board and lightly spray with non-stick spray. Spray inside of both sides.
Step 5: Pour muffin batter in half the pie iron. You only want to fill it about halfway using about 1/3 of the batter.
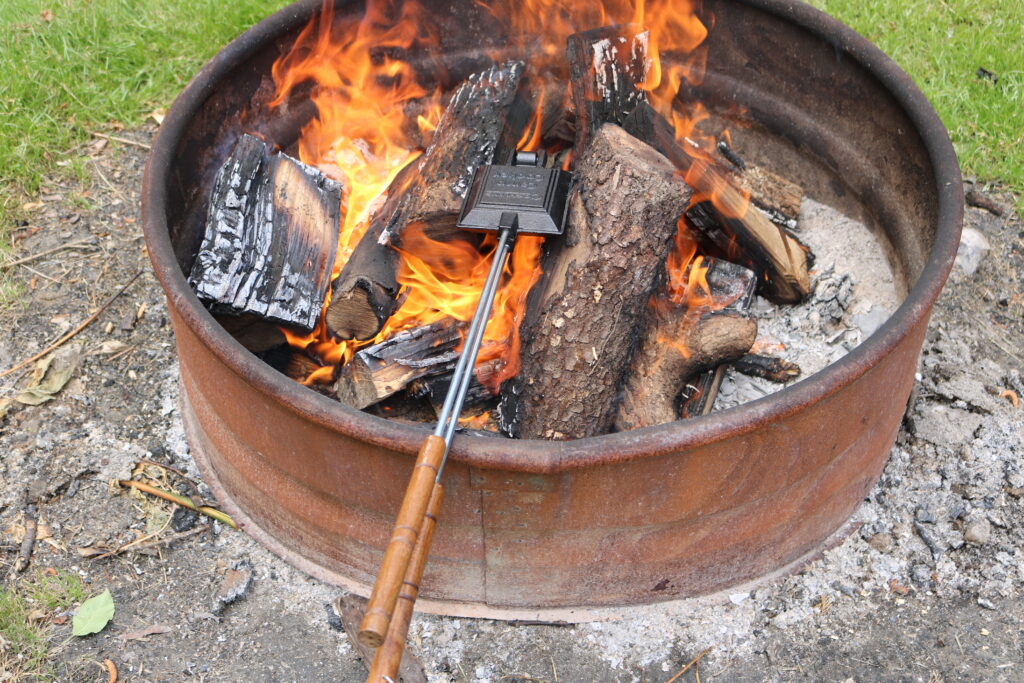
Step 6: Snap the iron together and hold it over the edge of the fire pit not right over the flames.
Step 7: Cook on the first side for 3 minutes. Then flip and cook for 3 minutes on the other side. Flip one more time and cook for another 2 minutes.
Step 8: Remove from fire and place the iron on board to open (careful because it is really hot) to flip the muffin out on a plate.
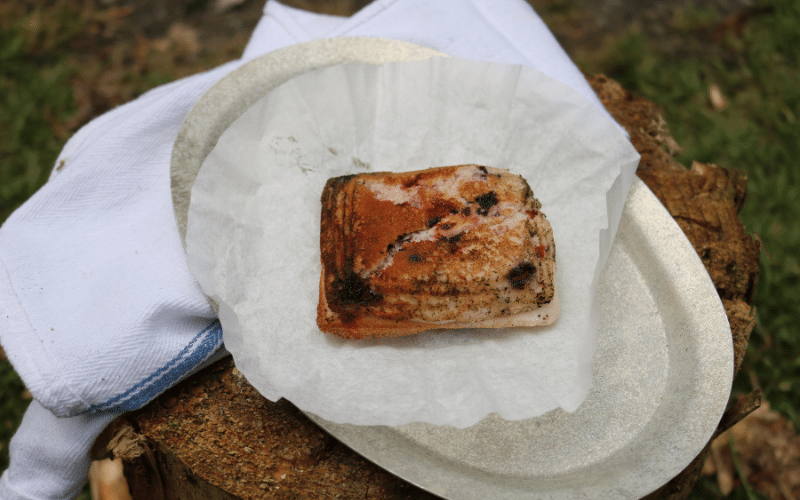

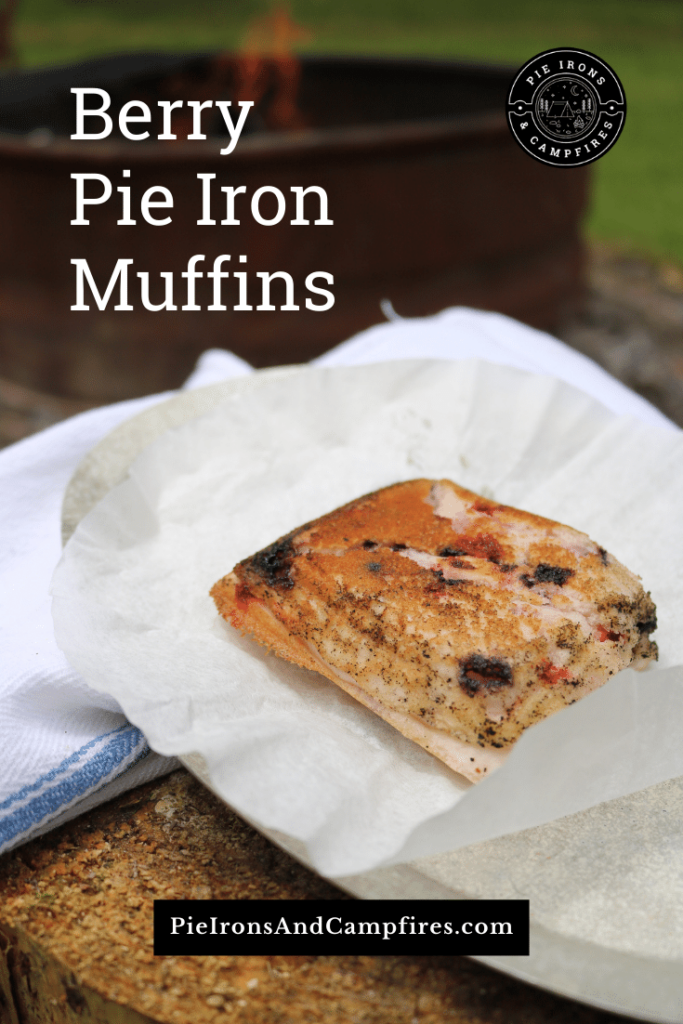
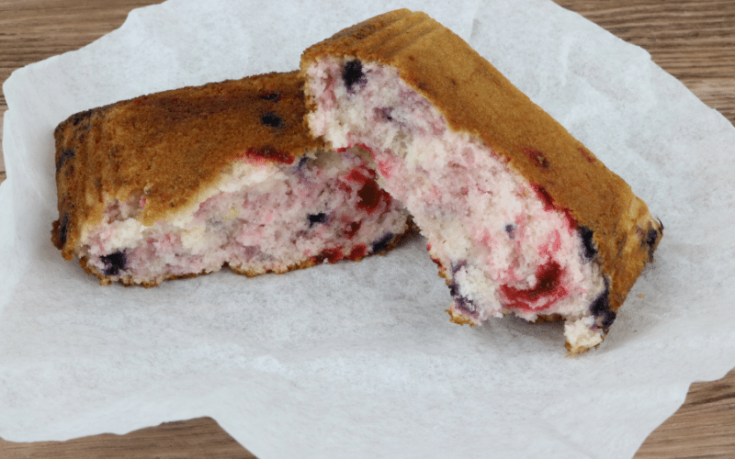
The final product – a delicious and easy camping breakfast treat!
Once you’ve popped your muffin out of the pie iron, I like to slather it with some butter.
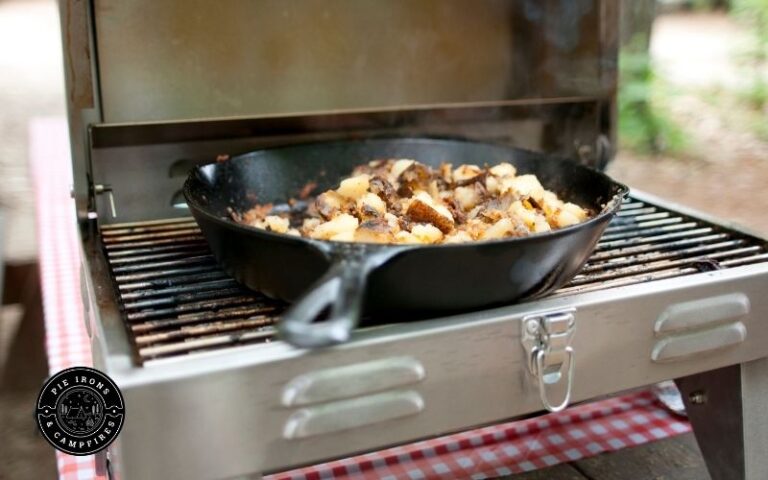
If you don’t want to use a pie iron, that’s okay! You can make the muffin batter and just cook them in your skillet or on the grill like regular pancakes. But I personally find it much easier with the pie iron. Plus, using a pie iron is just fun!
Berry Muffin Pie Iron Recipe
Ingredients
- Muffin Mix
- 1/2 Cup Water
- Non-Stick Spray (used canola)
- Butter (optional)
Instructions
Step 1: Get a good fire going.
Step 2: Mix muffin mix and water in cup or bowl and allow to sit for 2-3 minutes.
Step 3: Heat pie iron over the fire. It only needs to heat for about 30 seconds on each side.
Step 4: Set iron on board and lightly spray with non-stick spray. Spray inside of both sides.
Step 5: Pour muffin batter in half the pie iron. You only want to fill it about halfway using about 1/3 of the batter.
Step 6: Snap the iron together and hold it over the edge of the fire pit not right over the flames.
Step 7: Cook on the first side for 3 minutes. Then flip and cook for 3 minutes on the other side. Flip one more time and cook for another 2 minutes.
Step 8: Remove from fire and place the iron on board to open (careful because it is really hot) to flip the muffin out on a plate.
Nutrition Information:
Yield:
3Serving Size:
1Amount Per Serving: Calories: 34Total Fat: 4gSaturated Fat: 2gTrans Fat: 0gUnsaturated Fat: 1gCholesterol: 10mgSodium: 32mgCarbohydrates: 0gFiber: 0gSugar: 0gProtein: 0g
Nutrituon Facts may differ based on muffin mixed used.
What to Serve with Berry Pie Iron Muffins
You’ll definitely want to serve these Berry Pie Iron Muffins with a side of bacon or sausage. In fact, I like to cook the bacon and put it in a paper towel for my kids so they can have some while waiting on their muffins!
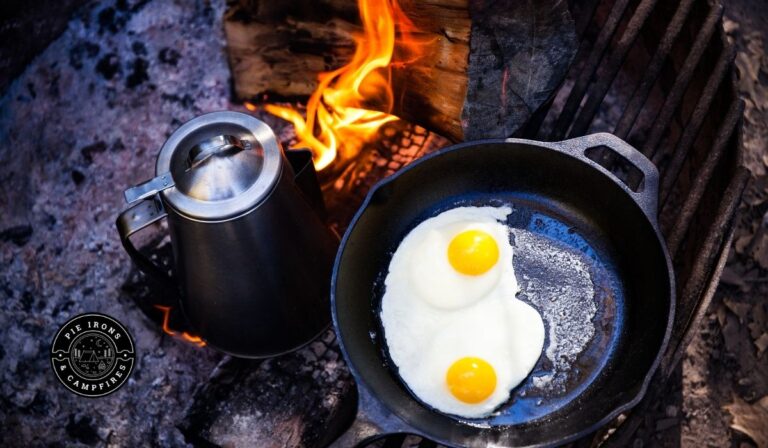
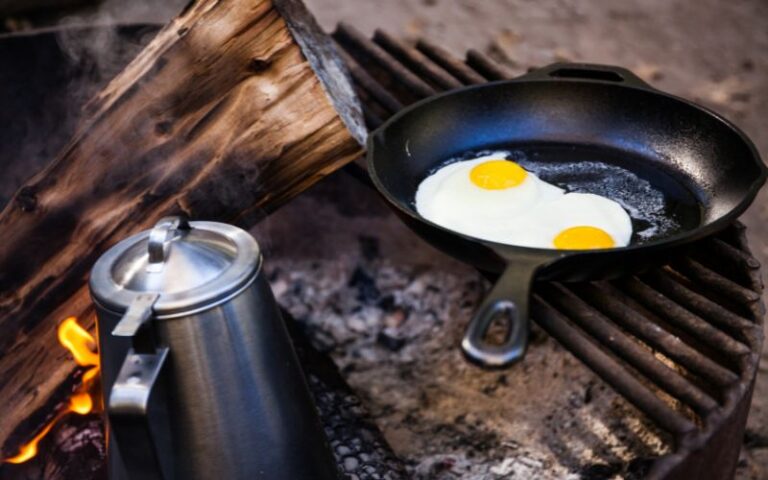
Fried eggs are also a great addition and so easy to cook over a campfire. And if you’re looking for another easy camping breakfast recipe idea, try our Camping Breakfast Burritos Recipe.
Tips on Storing Leftovers
You’ll want to store the leftover Berry Pie Iron Muffins in an airtight container or in a zip top baggie. They will keep for up to three or four days, though they’re best eaten within a couple of days.
How to Reheat Berry Pie Iron Muffins
If you want to reheat your muffins on your camp out, you can wrap them in some tin foil with a pat of butter and let them warm up near the edge of the campfire.
Once you get home, if you have leftovers, just reheat in the microwave for about 10 or 15 seconds.
Tips for Using a Pie Iron
- Season your pie iron well to prevent food from sticking to it.
- If you’re pie iron isn’t well seasoned, you may have a problem with food sticking to it. To make sure the pie iron doesn’t stick, you can use two pieces of aluminum foil to line each side. Spray with cooking spray.
- If your muffin is getting stuck in the middle and not coming out cleanly, try rotating it a quarter turn before taking off the top piece of bread on one side to release it.
Other recipes to try with the pie iron:
Here are some more fun pie iron recipes you’ll want to try:
One of my Favorite Pie Irons:
This Berry Muffin Pie Iron recipe is so simple and perfect for camping! It’s easy and the best part is that you don’t need to bring your oven or stove.
The pie iron cooks everything inside it from the heat of a campfire – no other equipment needed! We hope this post was helpful in showing how close-to-home recipes can be made even more enjoyable by adapting them for outdoor cooking on an open fire.
If you’re planning on going out into nature with friends anytime soon, keep these tips in mind. If you wouldn’t mind, share this post on Pinterest or Facebook. Thanks!